منزل

مدونة حول Raspberry Pi 4B Gains 5inch Touchscreen LCD Stepbystep Setup Guide

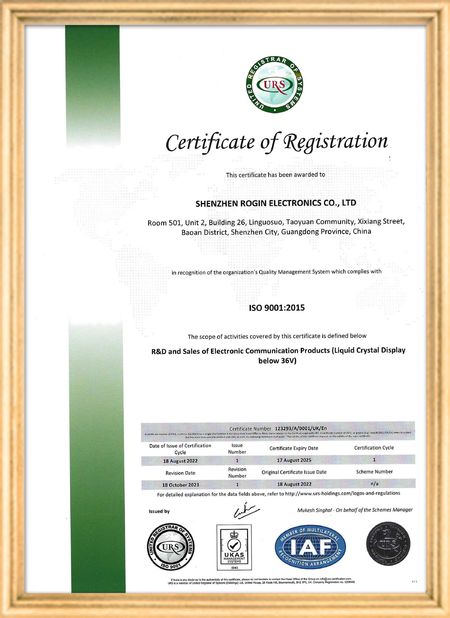
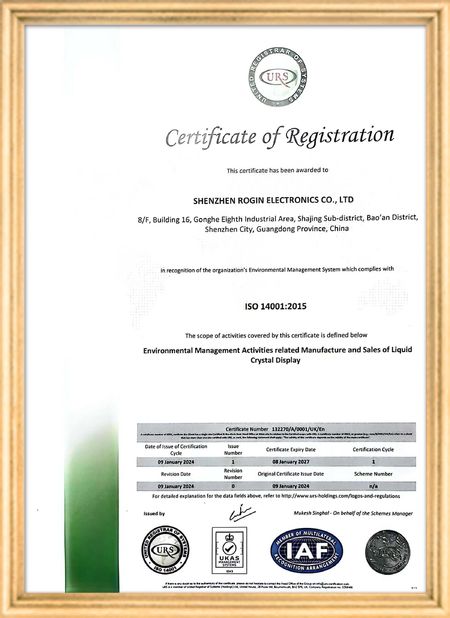
شهادة
الصين Shenzhen Rogin Electronics Co., Ltd. الشهادات
زبون مراجعة
تعمل هذه الشاشات بشكل مثالي في الترام. سطوع عالٍ، مقاومة للتوهج، ومستقرة حتى تحت الاهتزازات طويلة الأمد. يحب الركاب الرؤية الواضحة.

—— كاسبر سورنسن

ألوان دقيقة، استجابة سريعة، وتشغيل طبيعي منخفض درجة الحرارة يتناسب تماماً مع البيئة القاسية لنظم القطار على متن القطار

—— نيكول بيكر

سهلة التركيب، ونطاق درجة حرارة واسع، ورؤية متميزة في البيئات الساطعة. تلبي هذه الشاشات جميع متطلبات المعدات الصناعية لدينا.

—— جيوفاني

هذه الشاشات ذات الوضوح العالي مثالية لوحة التحكم الصناعية تبقى واضحة جداً حتى تحت أشعة الشمس المباشرة.

—— لوكاس مولر

ابن دردش الآن
الشركة مدونة
Raspberry Pi 4B Gains 5inch Touchscreen LCD Stepbystep Setup Guide
آخر أخبار الشركة Raspberry Pi 4B Gains 5inch Touchscreen LCD Stepbystep Setup Guide
Have you ever envisioned combining the powerful Raspberry Pi 4B microcomputer with a responsive 5-inch touchscreen LCD to create a customized interactive device? This ambitious project is more achievable than you might think. This guide provides a comprehensive walkthrough for successfully installing and configuring a 5-inch touchscreen LCD on your Raspberry Pi 4B, whether you're a beginner or an experienced maker.
1. Hardware Preparation and Connection

Before beginning the installation, ensure you have all necessary hardware components:

  • Raspberry Pi 4B motherboard
  • Compatible 5-inch touchscreen LCD (verify interface type: HDMI, DSI, or USB)
  • Appropriate power adapter
  • SD card preloaded with Raspberry Pi OS or your preferred operating system
  • Required cables (HDMI, USB, etc.)
  • Mounting screws

The hardware connection process is critical. Depending on your touchscreen's interface type:

  • HDMI interface: Connect using an HDMI cable
  • DSI interface: Carefully insert the ribbon cable into the Pi's DSI port
  • USB touchscreen: Connect via USB cable
2. Software Configuration and Driver Installation

After establishing hardware connections, software configuration becomes essential for touchscreen functionality. Most touchscreens require specific drivers, with installation varying by manufacturer and model.

For HDMI-based touchscreens, basic display functionality often works immediately, but touch capabilities might require additional drivers. DSI interface screens usually need modifications to the Raspberry Pi's configuration file (/boot/config.txt) to enable the interface and load appropriate drivers. USB touchscreens may require Xorg driver installation.

3. Troubleshooting Common Issues

During installation, you might encounter these common challenges:

  • No display: Verify power connections, check HDMI/DSI cable seating, confirm Pi boot status, and try alternative cables or ports.
  • Inaccurate or unresponsive touch: Confirm proper driver installation and loading. Review /boot/config.txt for touchscreen-related configurations. Touch calibration might be necessary using specialized tools.
  • Resolution abnormalities: Check /boot/config.txt for correct resolution settings or update display drivers.
  • Slow or unstable system: Ensure adequate power supply (minimum 3A for Pi 4B) and inspect SD card integrity.
4. Optimization and Application Expansion

After successful installation, explore the touchscreen's potential applications:

  • Information display systems
  • Interactive control panels
  • Portable gaming devices
  • Custom DIY project integration

System settings adjustments can optimize touch responsiveness and display quality for enhanced user experience. This integration opens new possibilities for interactive computing projects using the versatile Raspberry Pi platform.

حانة وقت : 2026-07-30 00:00:00 >> blog list
تفاصيل الاتصال
Shenzhen Rogin Electronics Co., Ltd.

اتصل شخص: Mr. Kelvin Zhu

الهاتف :: +86 15919061504

إرسال استفسارك مباشرة لنا (0 / 3000)